
Bathroom Remodel: Bathtub to Shower Conversion Steps
Many homeowners remodeling a bathroom eventually face the same question:
Should we keep the bathtub or convert it into a shower?
A bathtub-to-shower conversion is one of the most common bathroom remodel projects. It can open up space, modernize the bathroom, and improve accessibility.
The scope of a bathtub-shower combo remodel can vary significantly depending on the materials and layout changes, but most projects involve the same basic construction steps.
This guide walks through:
The construction process behind converting a bathtub into a shower
The design options available
The cost and timeline differences between inserts and tile showers
How a Bathtub-to-Shower Conversion Works
When converting a bathtub to a shower, contractors remove the existing tub and rebuild the shower area with new waterproof materials.
Although the finished shower may look simple, several construction steps are required to ensure the shower is durable and waterproof.
Step 1: Removing the Existing Bathtub
The project begins with demolition.
This usually includes:
Removing the bathtub
Removing surrounding wall material (drywall or tile)
Inspecting the plumbing connections
During this stage, contractors also inspect the wall framing and subfloor to ensure everything is structurally sound before rebuilding the shower.
Demolition for a bathtub-shower combo remodel usually takes about half a day.
Step 2: Plumbing Adjustments
Once the bathtub is removed, the plumbing often needs to be modified to accommodate a shower.
Typical adjustments include:
Raising the shower valve
Installing a new shower head connection
Adjusting the drain location if needed
If the plumbing layout remains similar, this step can usually be completed within a few hours to one day. If planned properly, it can be scheduled on the same day as demolition, assuming demo starts in the morning and plumbing rough-ins start in the afternoon.
Step 3: Framing and Shower Base Preparation
Before the walls are rebuilt, the shower base area must be prepared.
This may involve:
Installing a shower pan
Leveling the floor area
Reinforcing framing for glass doors or heavy tile
The shower pan is critical because it directs water safely to the drain and prevents leaks. At times, framing might happen before plumbing rough-ins, depending on how much of the bathroom needs to be re-framed. Framing, only for a shower, typically takes a few hours and should be done on demo day.
Step 4: Installing Backer Board
Once plumbing and framing are complete, the shower walls are rebuilt using cement backer board or waterproof wall panels.
Backer board is essential because:
It resists moisture
It supports tile installations
It prevents mold or water damage
Standard drywall cannot be used inside a shower because it will absorb water over time.
Step 5: Waterproofing the Shower
Before tile or wall panels are installed, contractors apply waterproofing systems to prevent moisture from penetrating the walls or framing.
There are two primary types of waterproofing systems used in modern shower construction:
Sheet Membrane Waterproofing
Sheet membrane systems involve installing a waterproof barrier directly over the backer board or substrate.
Popular products include:
Schluter Kerdi
Wedi Building Panels
These systems are applied using thinset mortar and create a fully waterproof layer behind the tile. One advantage of sheet membranes is that tile can often be installed the same day or shortly after installation, which can speed up the overall remodel timeline.
Liquid Waterproofing Membranes
Liquid waterproofing systems are applied by rolling or brushing a liquid membrane onto the backer board.
Common products include:
RedGard (Custom Building Products)
Hydro Ban (Laticrete)
Mapelastic AquaDefense (MAPEI)
These coatings cure into a waterproof barrier that protects the wall system from moisture. Liquid membranes typically require multiple coats and a curing period before tile installation.
Waterproofing Timeline
Backer board installation and waterproofing are typically completed on the same day.
In most bathtub-to-shower conversions, you should plan waterproofing systems to take about one day to install and cure, allowing tile installation to begin the following day.
Proper waterproofing is one of the most important steps in a shower remodel because it protects the structure of the home from water damage and ensures the shower lasts for many years.
Step 6: Installing the Shower Walls
At this stage, homeowners choose between two main options:
Shower Inserts (Least Expensive)
Shower inserts are prefabricated wall panels that install quickly.
Advantages include:
Lower cost
Faster installation
Minimal grout maintenance
These systems are common in budget-friendly bathroom remodels and rental properties.
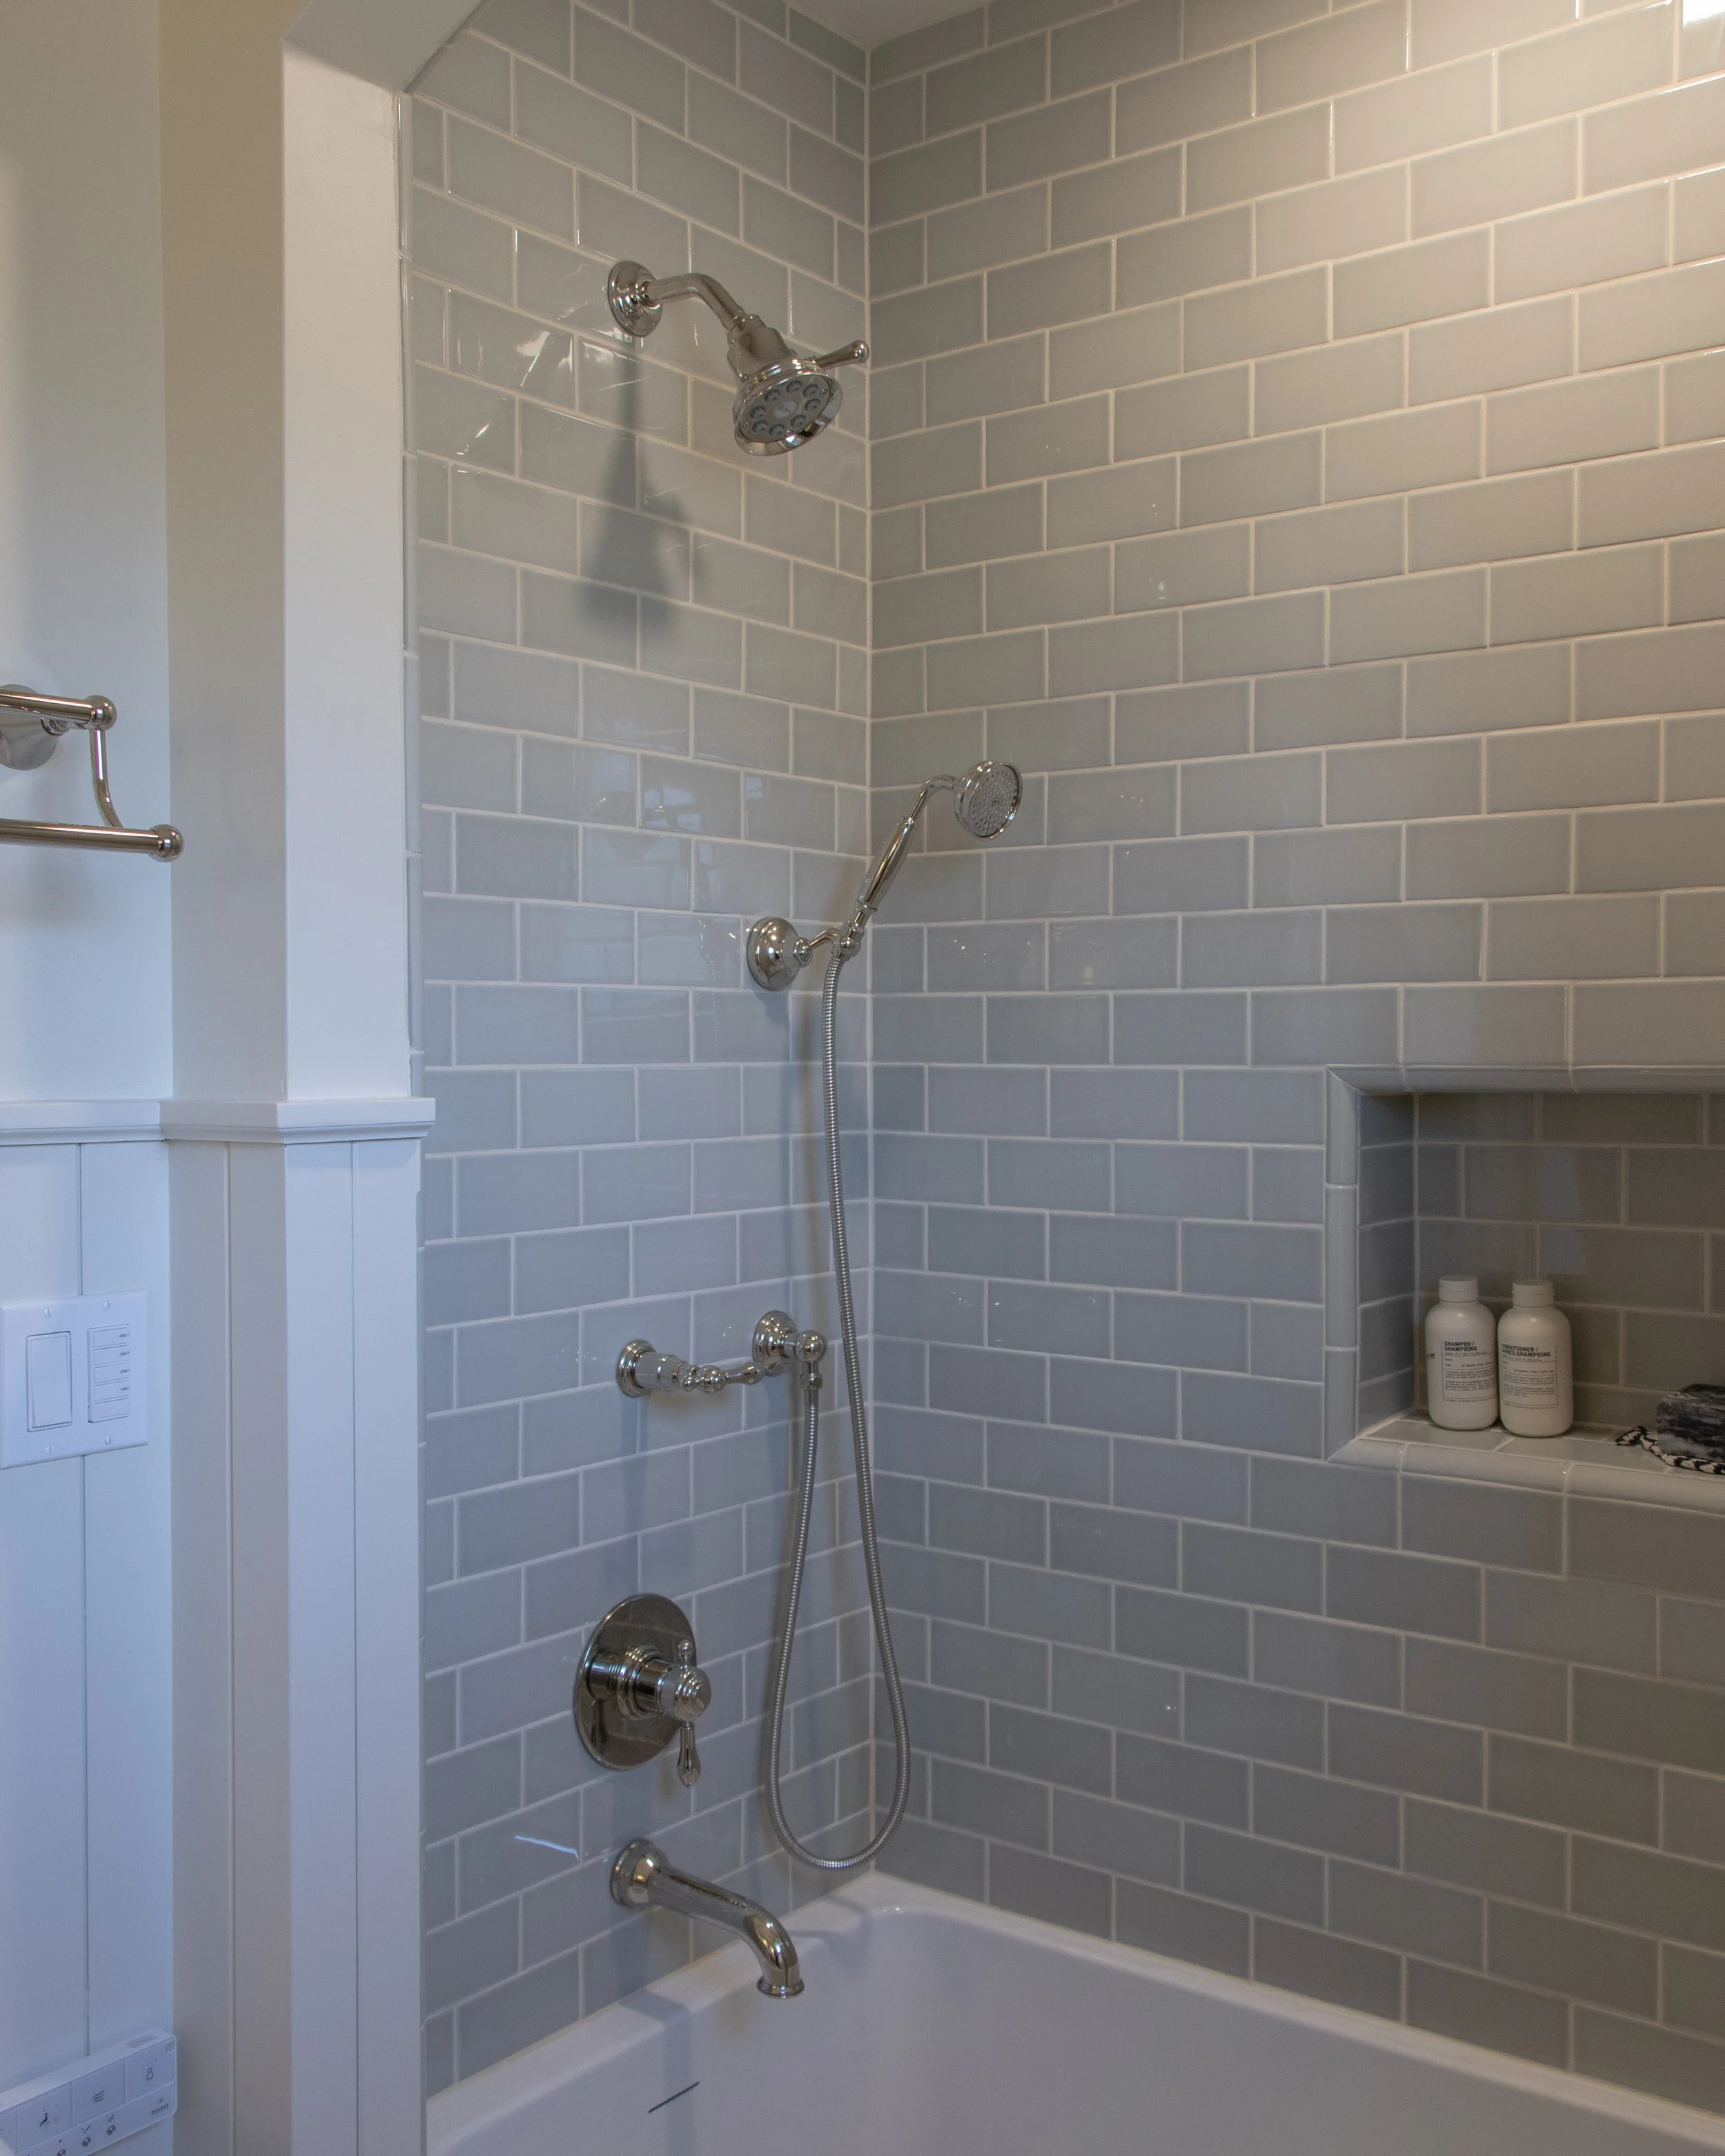
Tile Showers (Most Custom)
Tile showers allow complete customization in layout and design.
Common tile choices include:
Subway tile
Large format tile
Natural stone
Mosaic tile
Tile showers require more labor because each tile must be installed and grouted individually. Typically, tile can be done in 2-3 days, depending on the complexity and size of the shower. We always aim for 2 days of tile work as it saves you both time and money, but smaller tiles will often take 2 days.
Step 7: Plumbing Trim-Out
Once the shower walls are complete, the plumbing trim is installed.
This typically includes:
Shower valve trim
Shower head
Hand shower, if included
Tub spout removal or final capping, depending on the new layout
This is the stage where the shower starts to feel finished, and the plumbing fixtures are tested to ensure everything is working properly. Plumbing trim usually takes a few hours.
How Tile Size Affects Cost
Tile size has a major impact on labor costs.
Large Format Tile
Large tiles install faster because fewer pieces are required.
Benefits include:
Faster installation
Fewer grout lines
Modern appearance
Standard Subway Tile
Subway tile is one of the most common shower finishes.
Although it is relatively affordable, it typically requires more labor than large-format tile. Large-format tile can occasionally be just as labor-intensive as subway tile when showers are odd-shaped or multiple cuts are required.
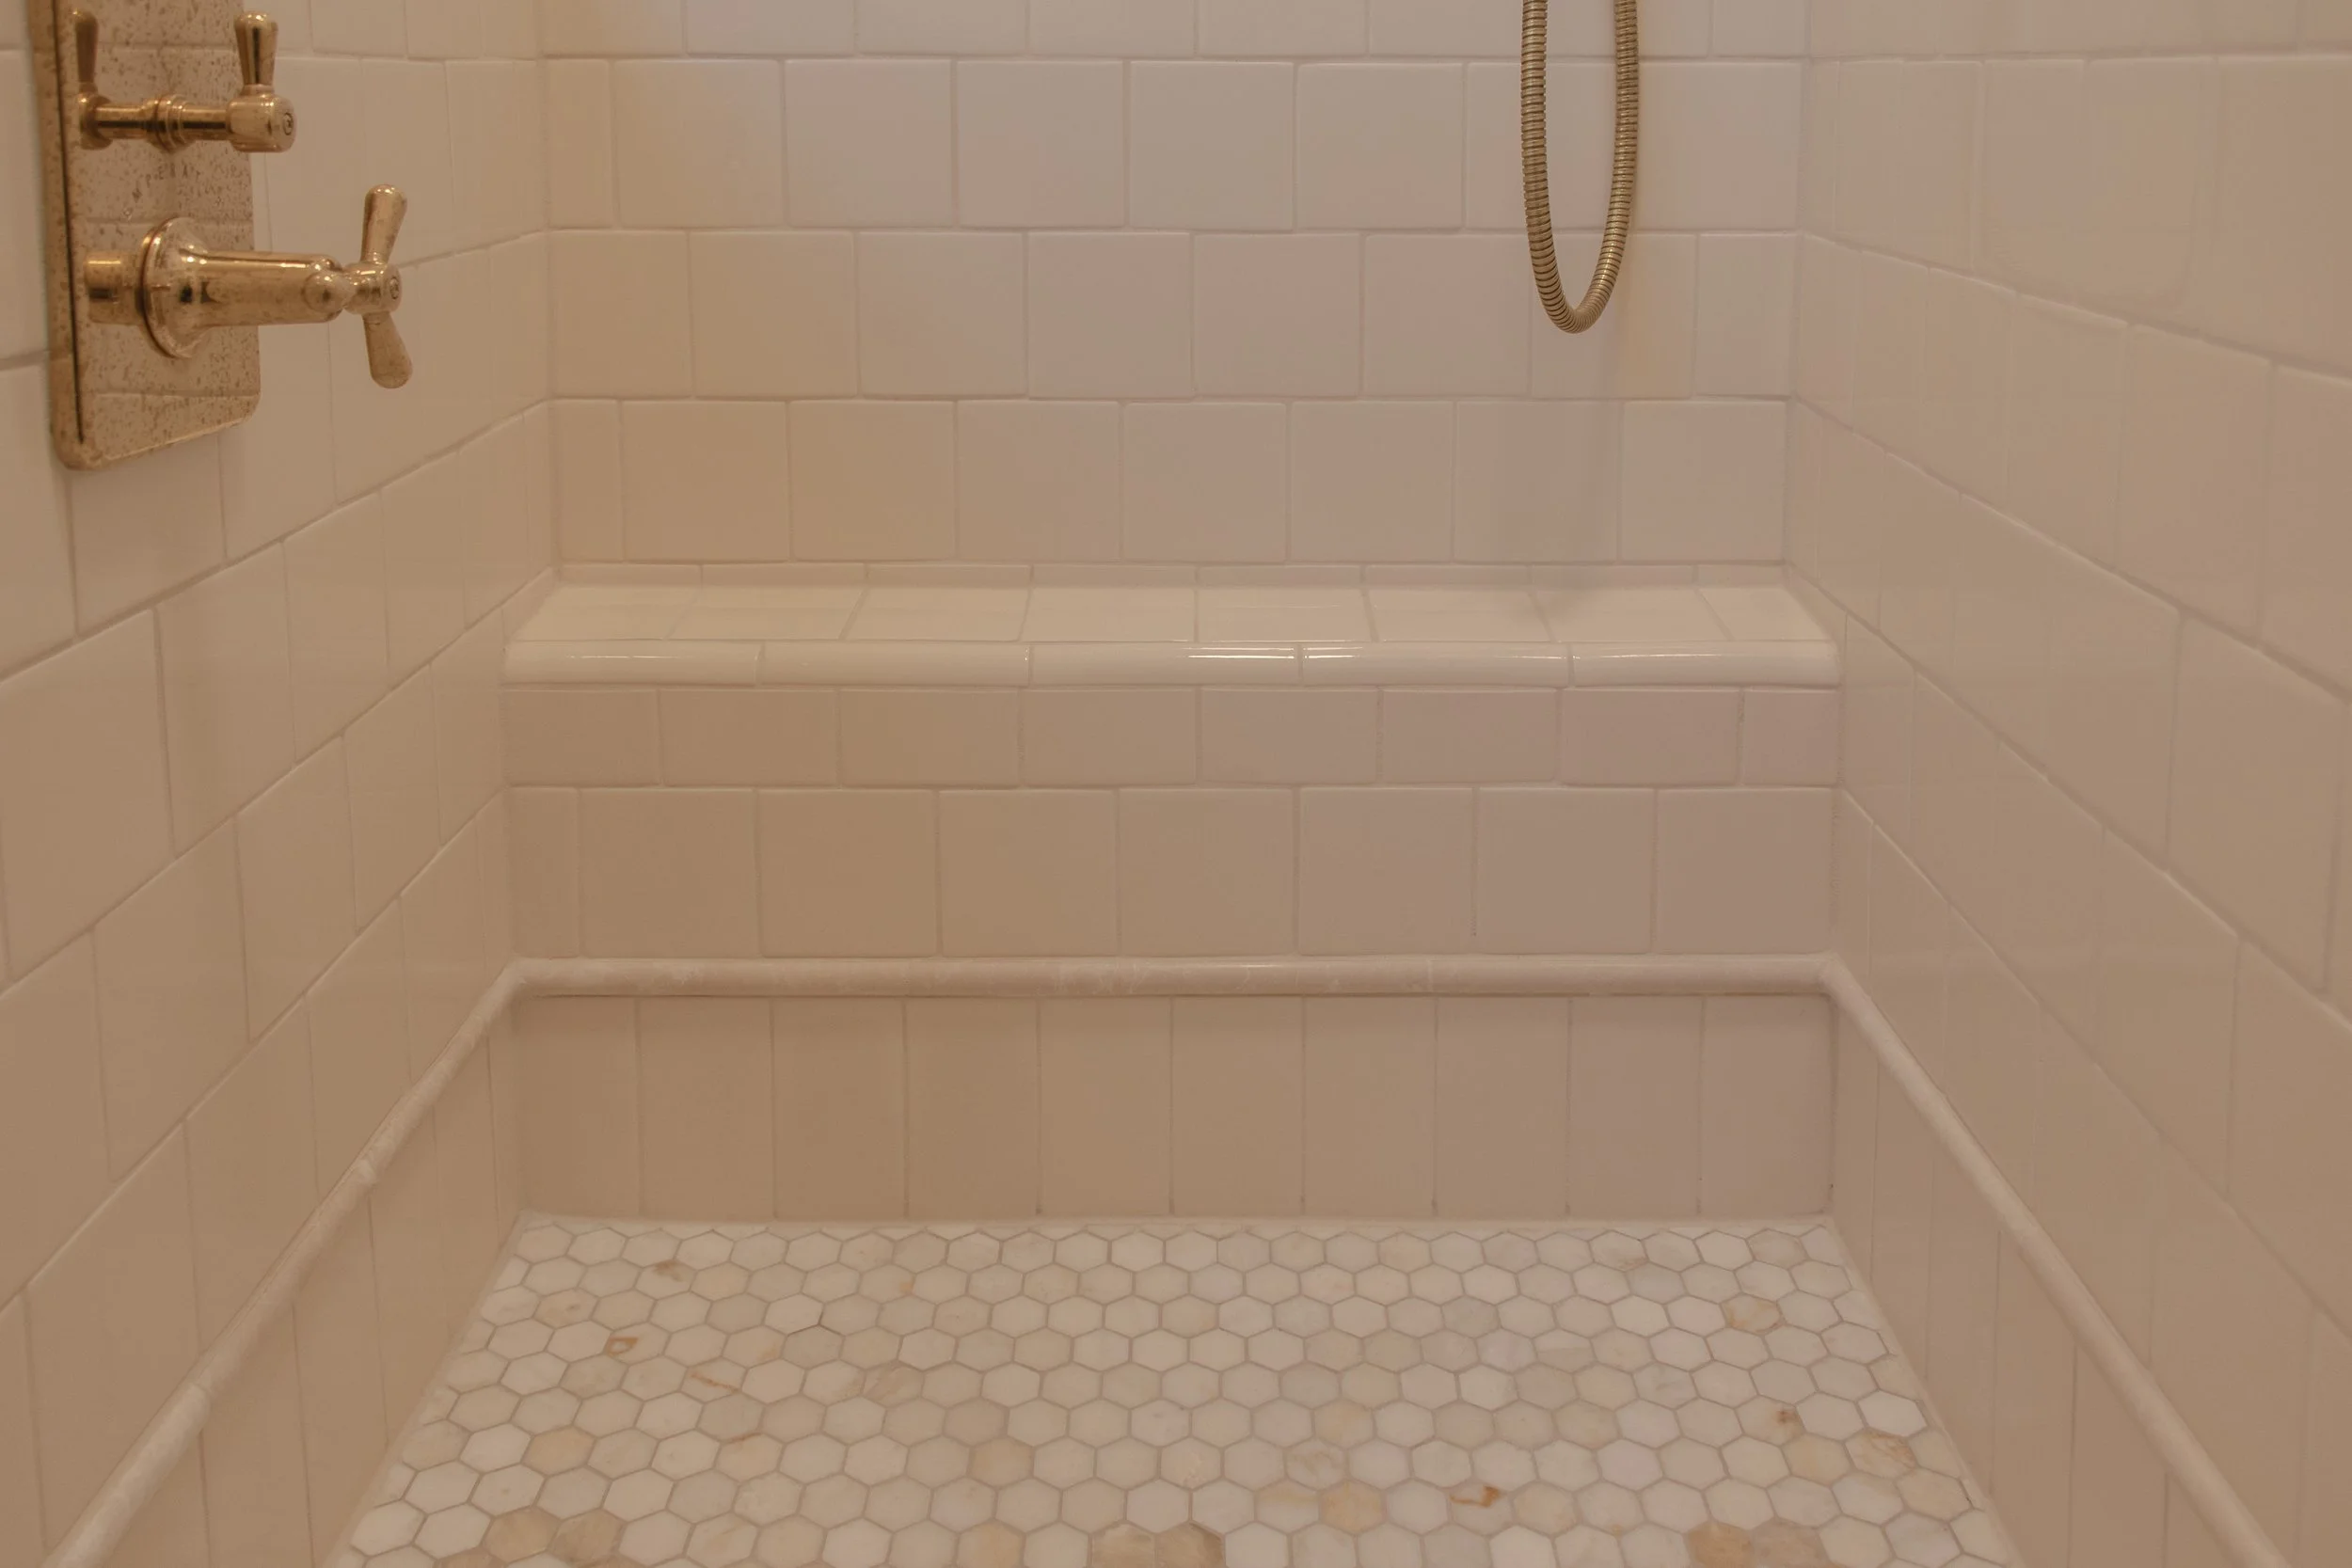
Small Tile or Mosaic Tile
Small tiles can significantly increase labor costs.
Because installers must place many individual pieces, mosaic tile installations can add an extra day or more of labor compared to larger tiles.
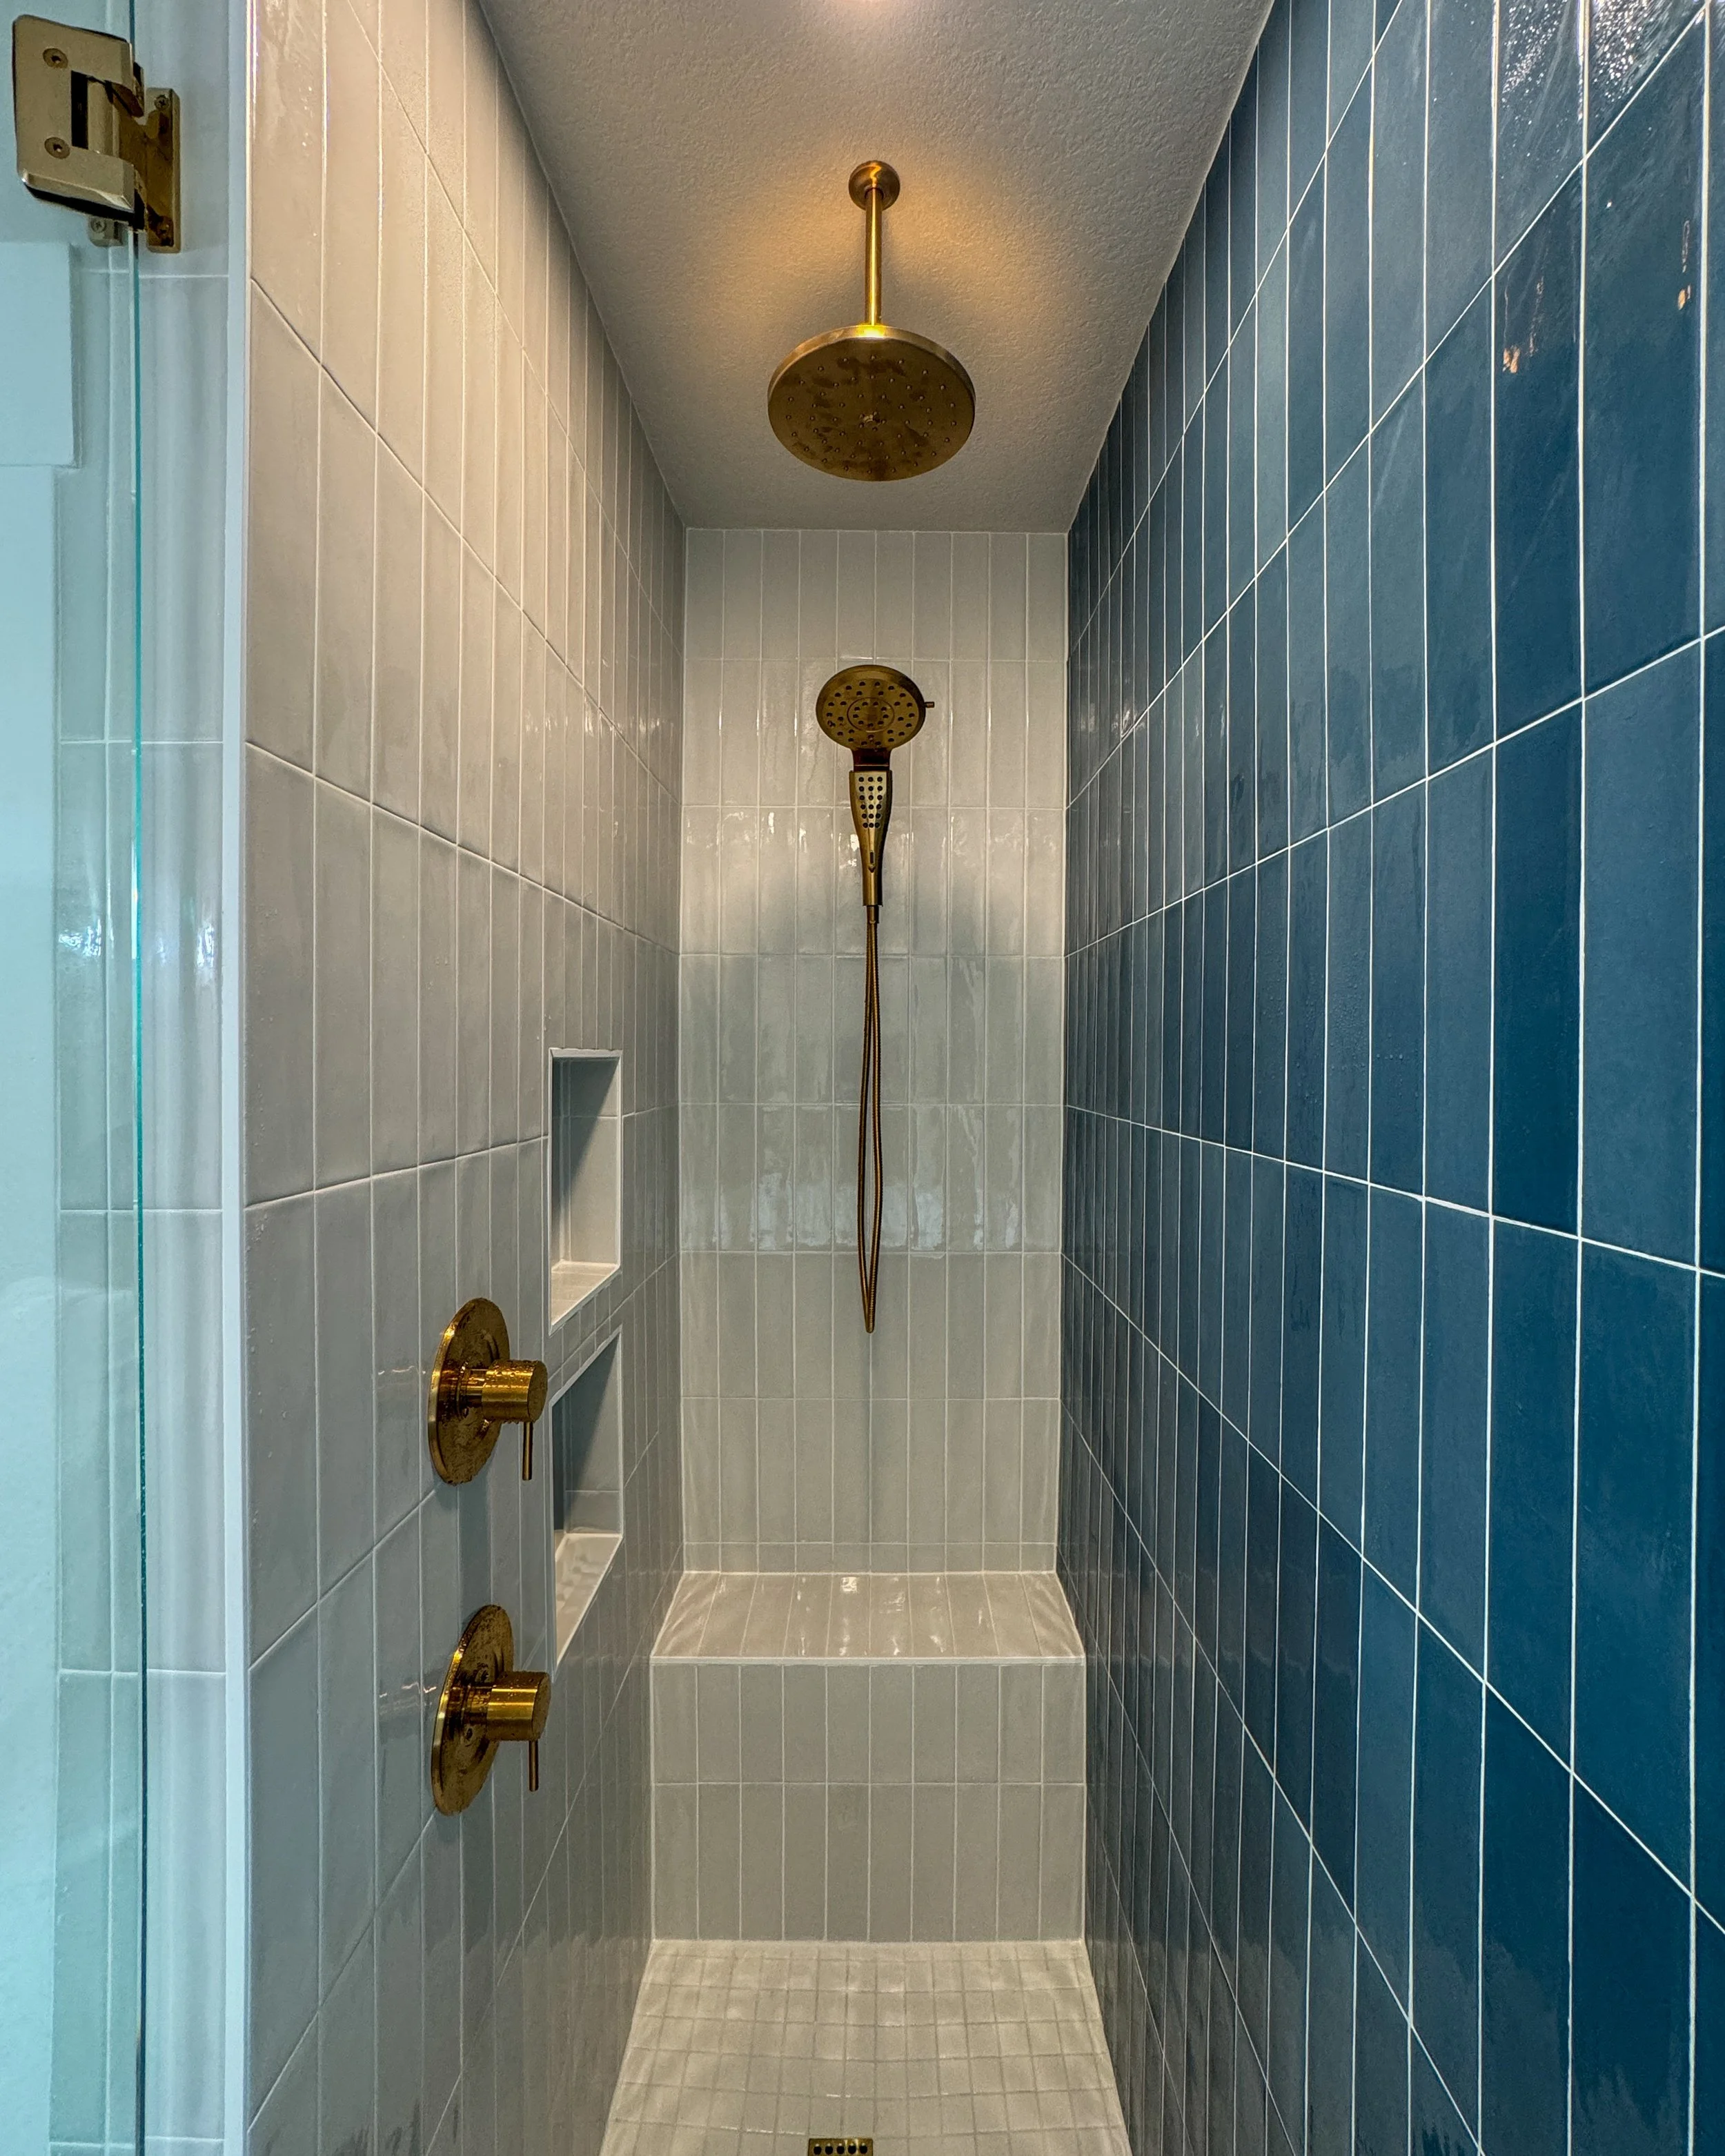
Design Options for Shower Conversions
Converting a bathtub into a shower also opens up several design options.
Common upgrades include:
Frameless glass shower doors
Built-in shower niches
Linear drains
Large-format tile walls
Floating shower benches
These features can significantly improve both the appearance and functionality of the bathroom.
Is a Bathtub-to-Shower Conversion Right for Your Bathroom?
While many homeowners prefer modern walk-in showers, some bathrooms still benefit from keeping a bathtub.
Bathtubs may still be valuable for:
Families with young children
Homes with only one bathroom
Resale value in certain markets
However, in many homes, a bathtub-shower combo remodel can create a more spacious, modern bathroom.
Planning a Bathtub Shower Combo Remodel in Portland, OR
A successful bathtub-to-shower conversion depends on careful planning, proper waterproofing, and thoughtful material selection.
Working with an experienced contractor ensures that the shower is built correctly and will perform well for many years.
If you are considering converting a bathtub into a shower, understanding the construction process and design options can help you plan a bathroom remodel that fits both your budget and your lifestyle.